How to Mount Slave Products on TPM's ECPW Master
Step 1
– Place the ESI file of the slave product to be mounted in the following path:
– C:\TPM\ECPW\ESI
Step 2
– Run ECATNavi
– Perform a SCAN
– If all modules are found and displayed correctly, the mounting of slaves is complete
– If an “Unknown” module appears, proceed to Step 3
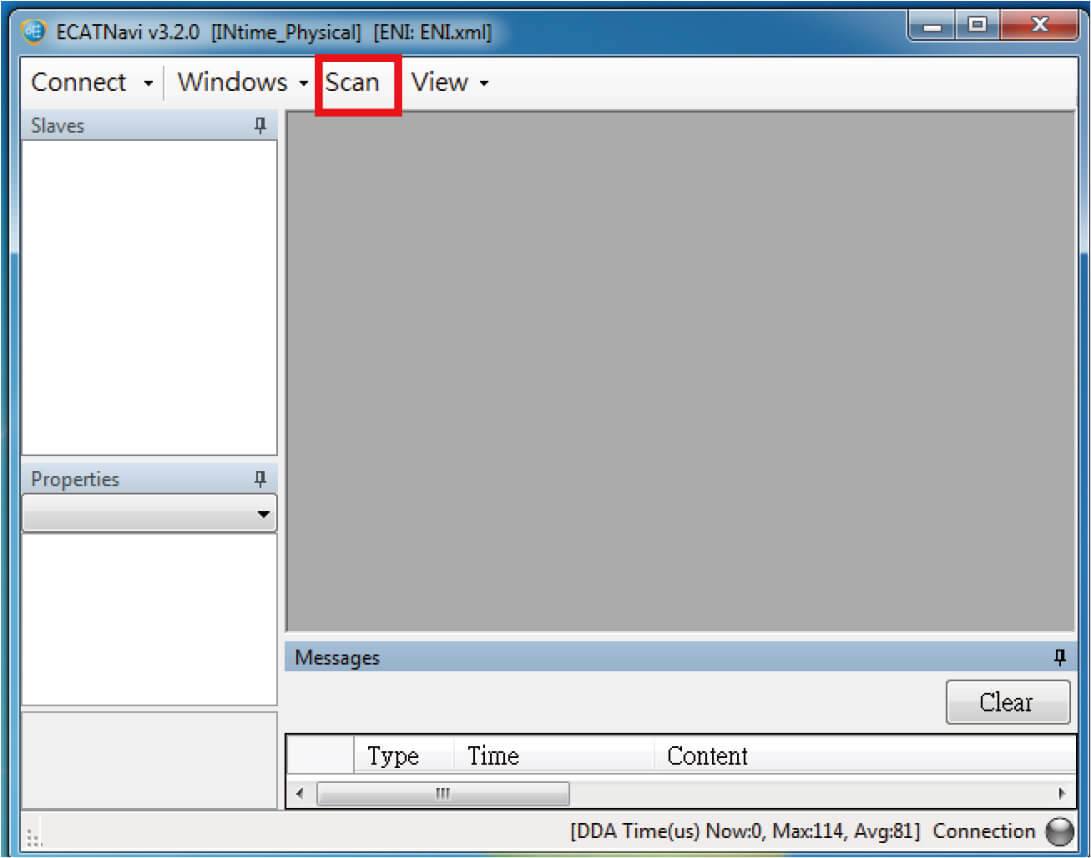
ECPW Main Screen
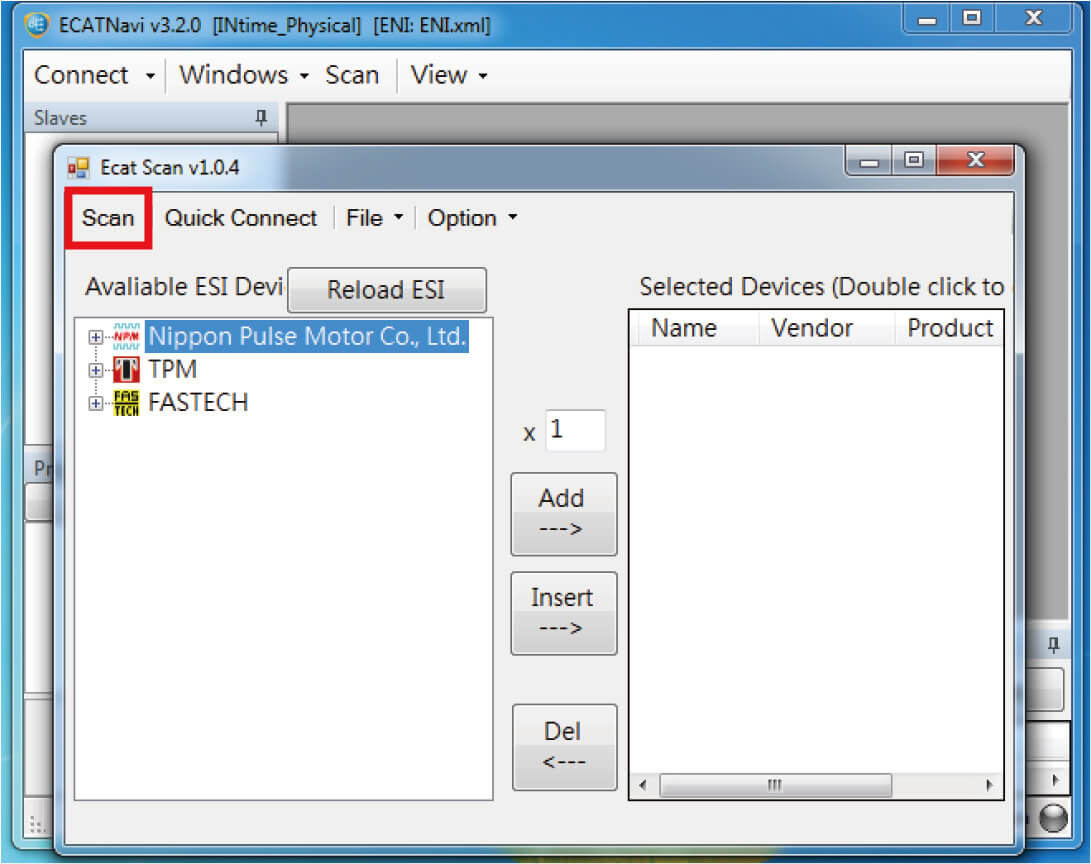
SCAN Screen
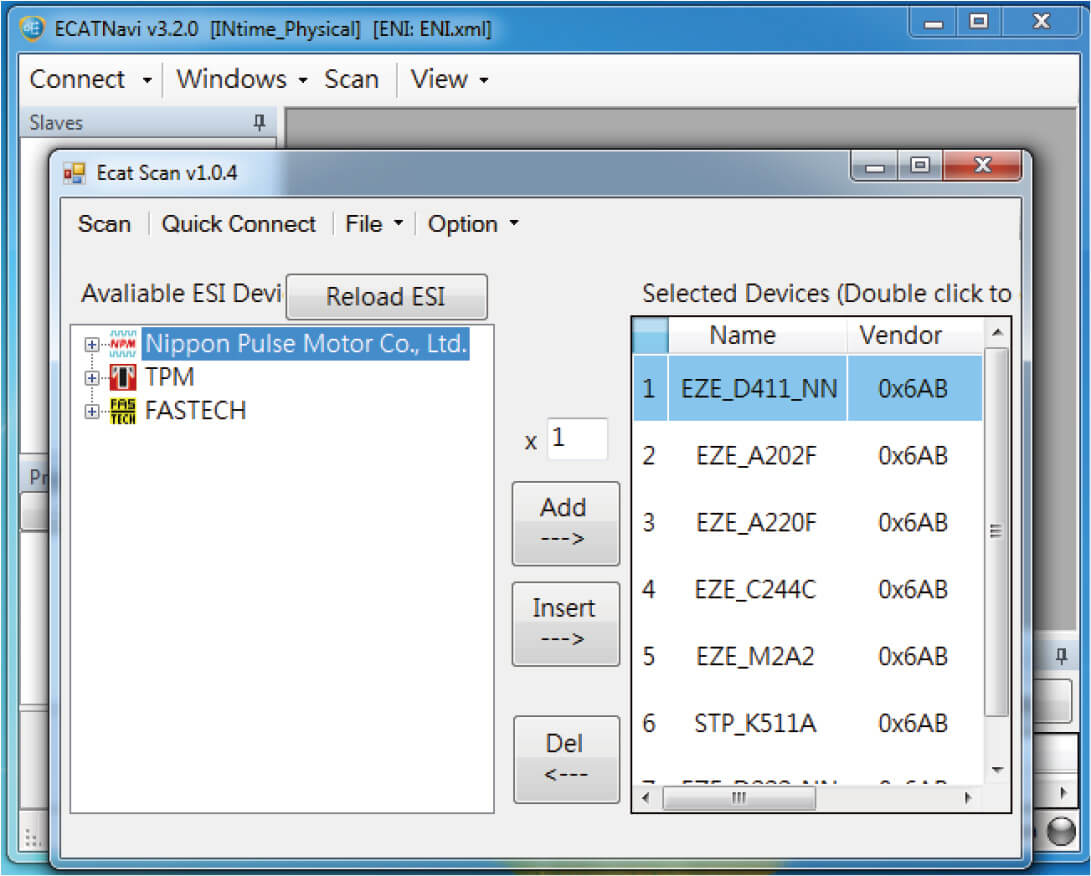
Completed SCAN Screen
Step 3
– Execute ECATNavi after the SCAN
– If there are unknown modules
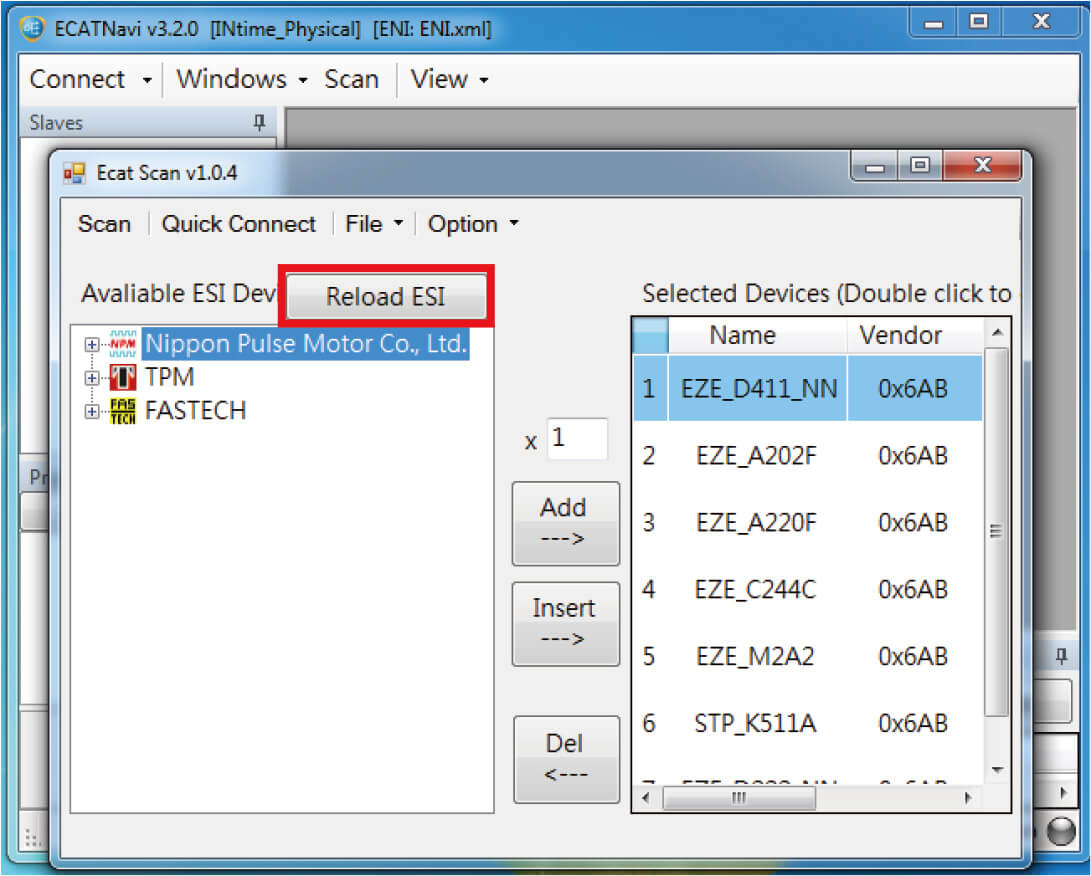
– If you have already placed the ESI in the specified folder
– Click “Reload ESI.”
– ECATScan will automatically add connection detection
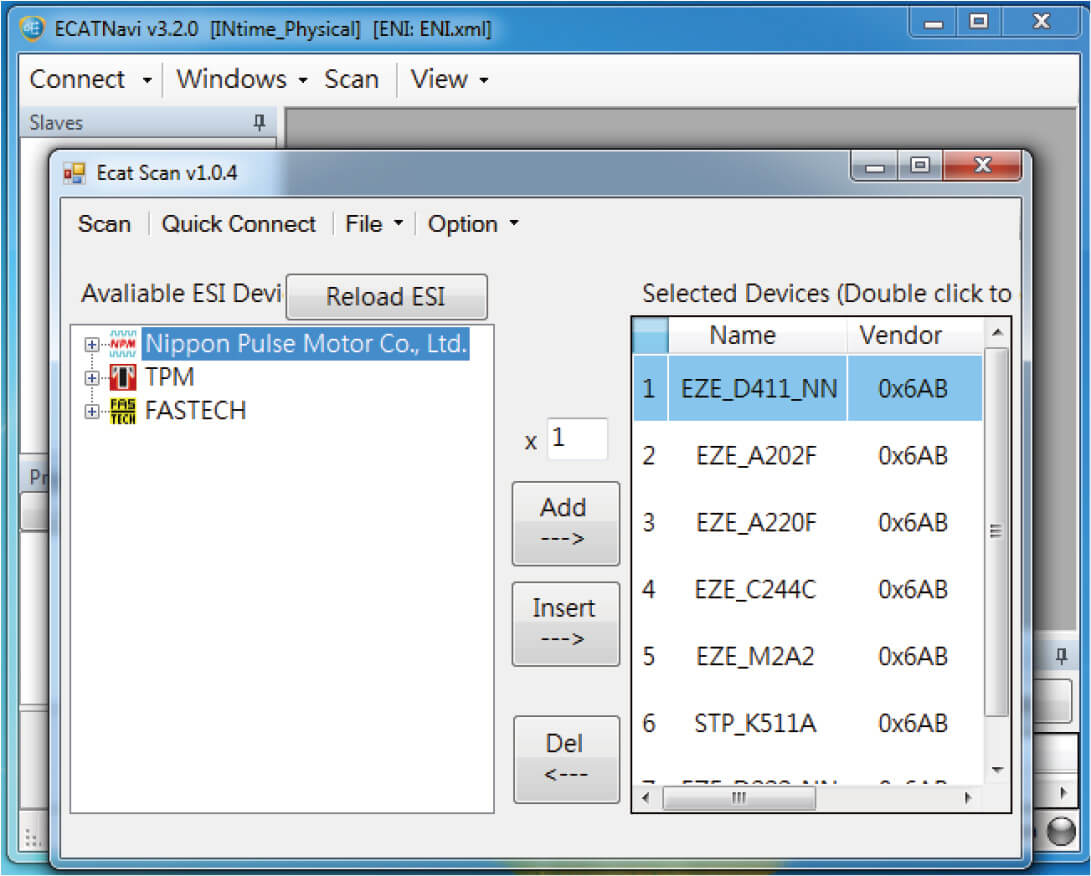
– When all connected slave modules appear correctly in the list, it means the slaves are successfully mounted
– If unknown modules appear again, proceed to Step Four
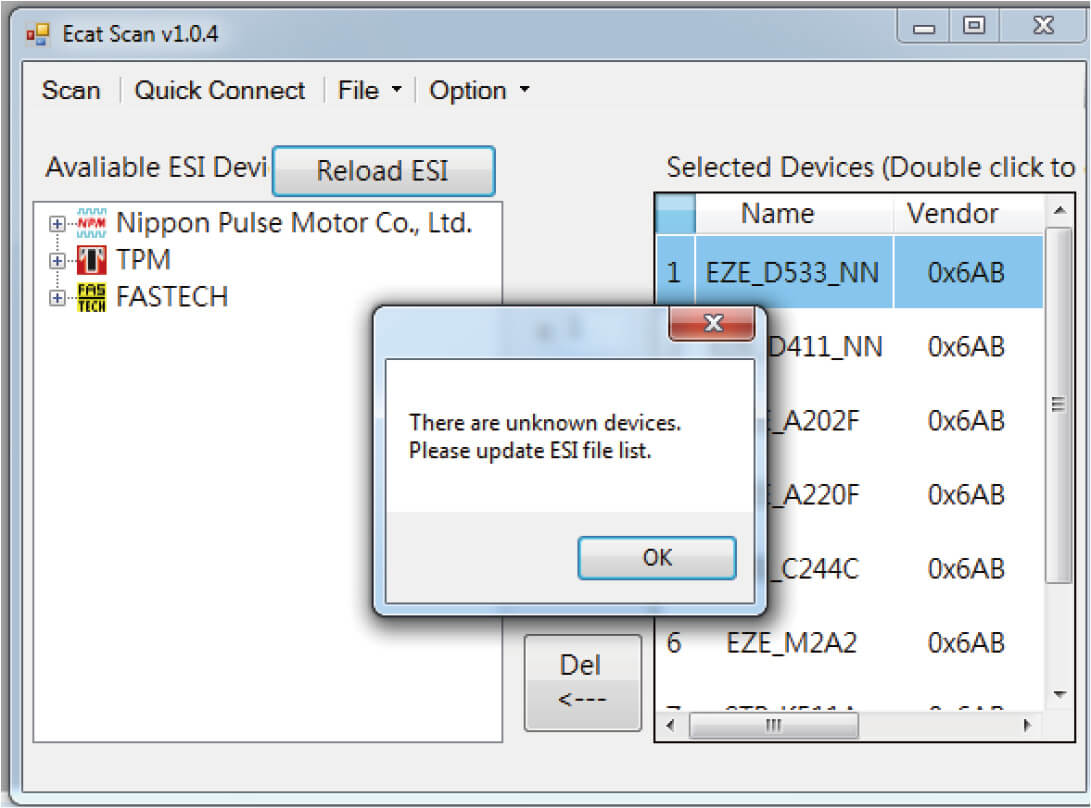
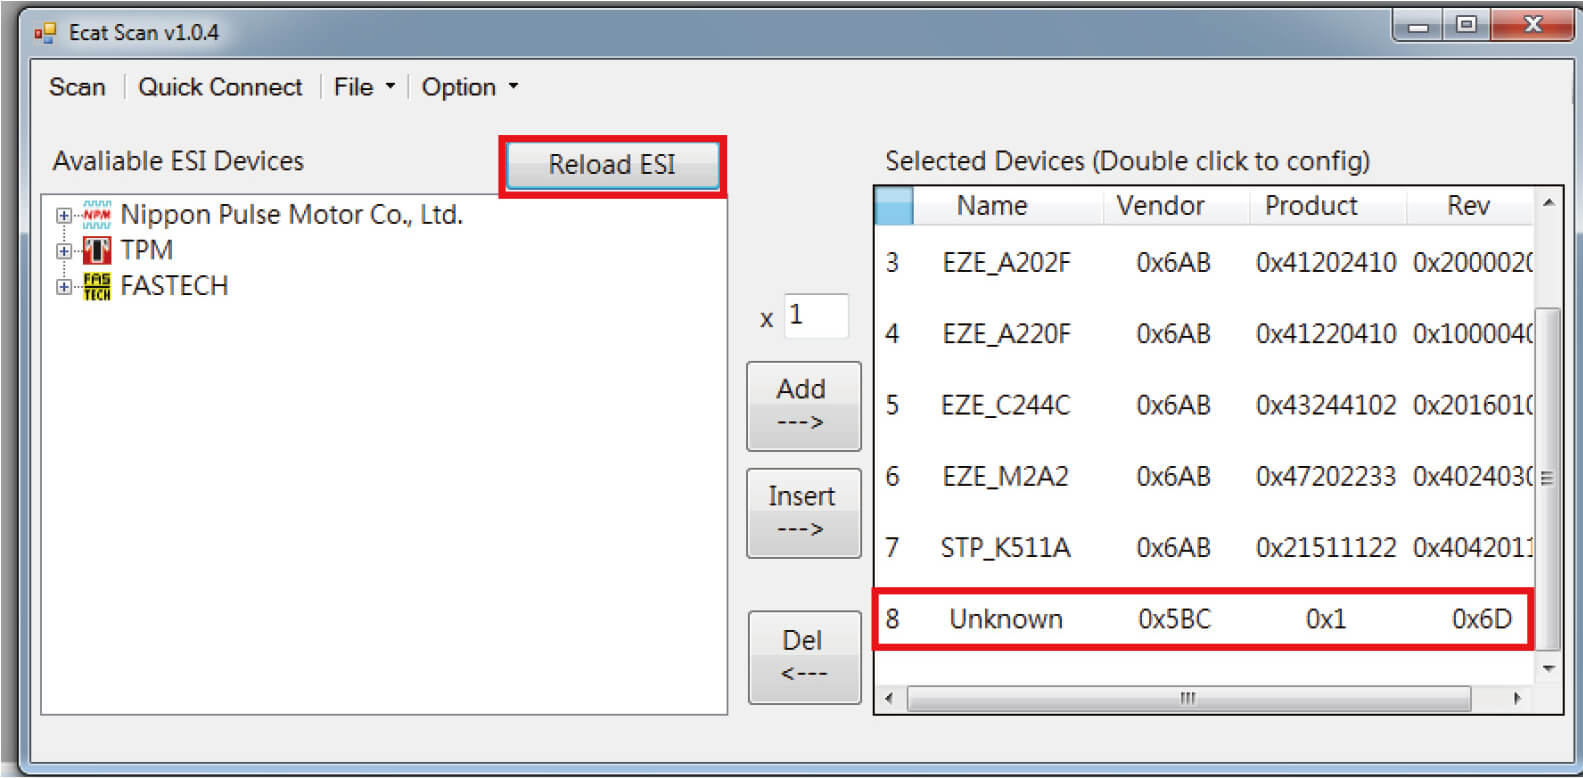
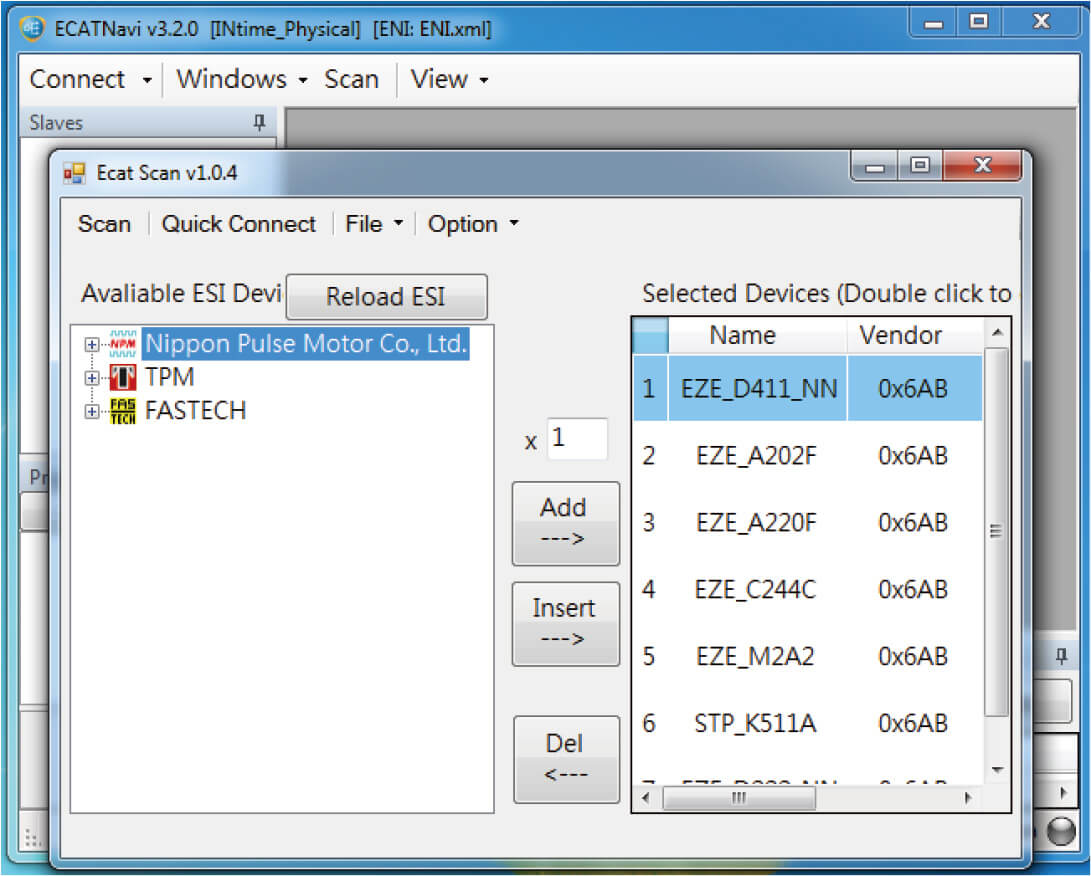
所有模組正常顥顯示
Step 4
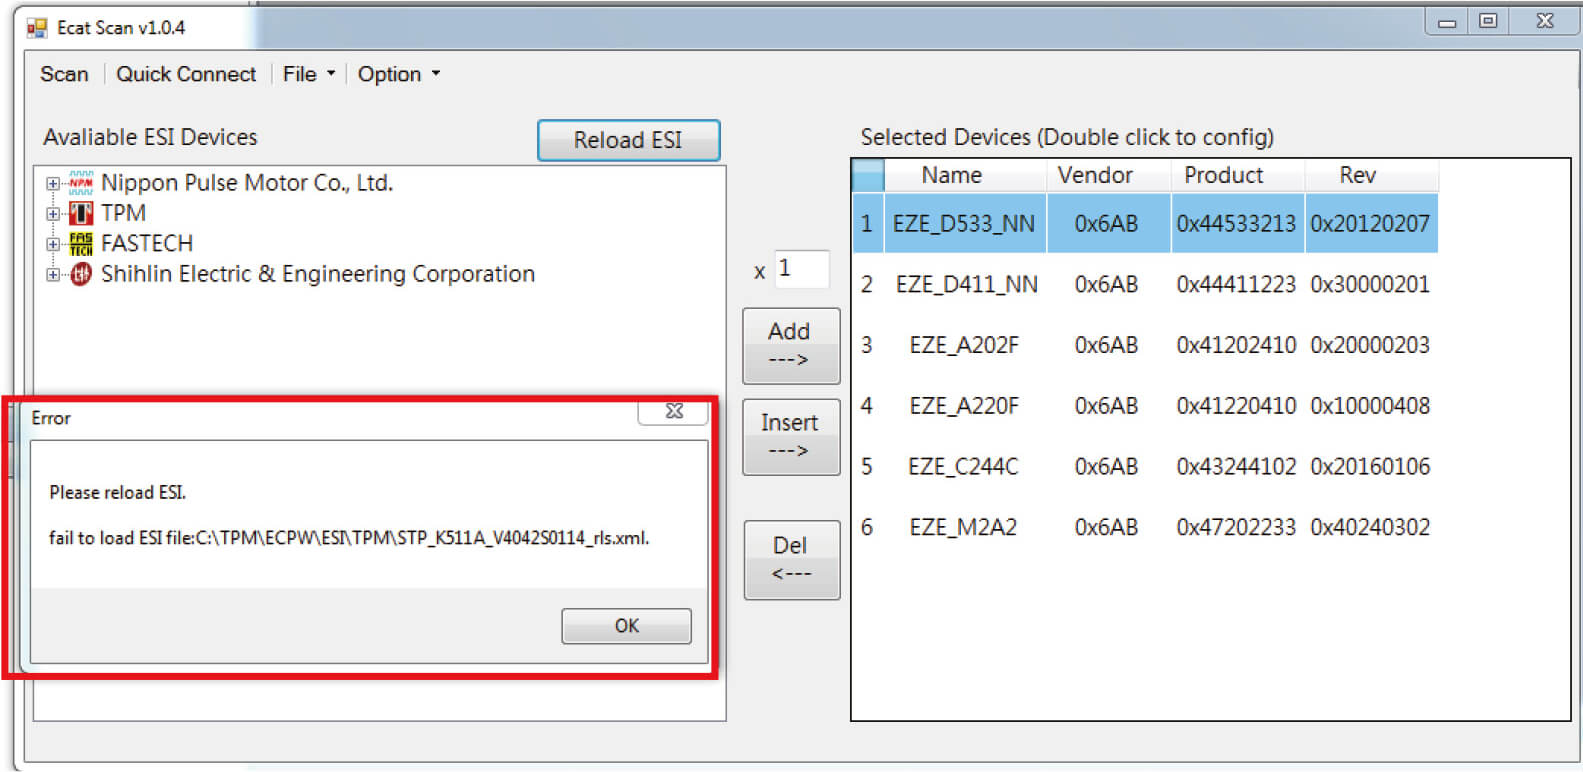
– Click “Reload ESI.”
– If unknown modules persist or if a red box error message appears
– Verify if the ESI version is correct
– Place the correct ESI file in: C:\TPM\ECPW\ESI folder
– Click “Reload ESI” again
– When all connected slave modules appear correctly in the list, it means the slaves are successfully mounted
– If the “Unknown” issue persists, prepare the hardware and ESI, and contact TPM for further assistance
Step 5
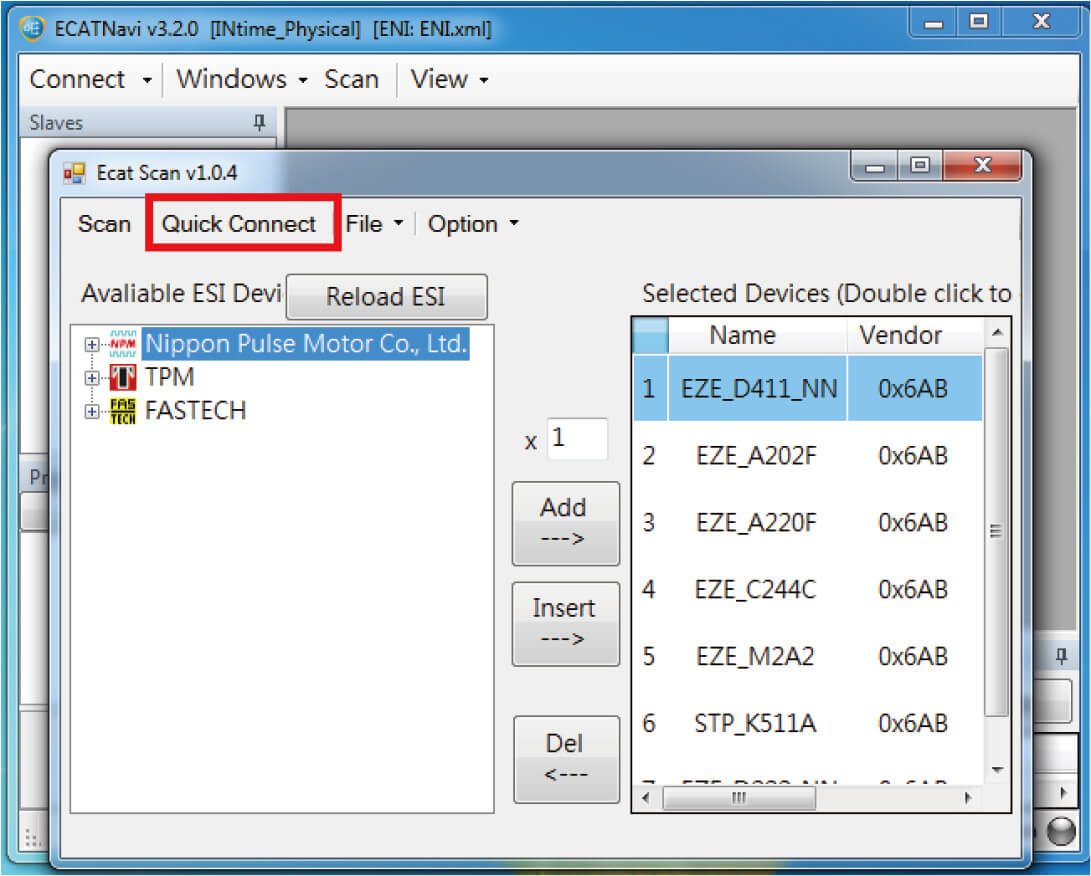
– Click “Quick connector.”
– An ENI file will be automatically generated and stored in the path: C:\TPM\ECPW\ENI
– Connector setup is complete
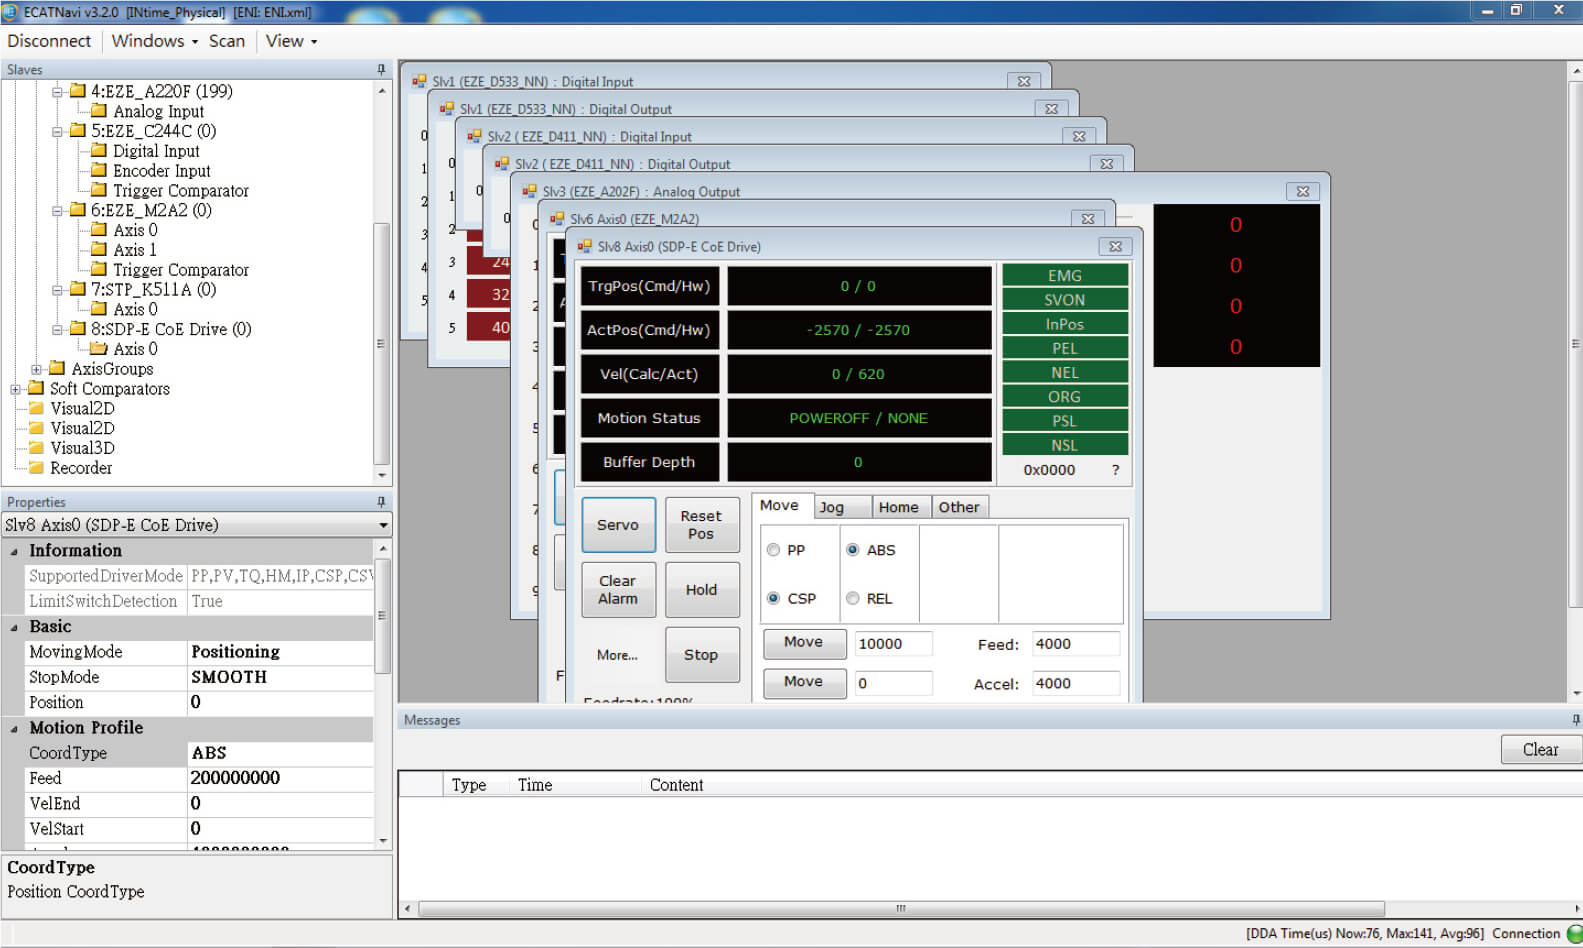
– You can directly control each slave
– If, on the control page, modules cannot be operated correctly, prepare the hardware and ESI, and contact TPM for assistance
